Welcome to the second ‘How to’ post. I’ve had a couple of people ask me how the new ribs are fitted, so here’s a few pictures of the process.
The first job is to trim down the end of a new rib. A couple of years ago I was fortunate to be walking past Arthur Beale’s chandlery on Shaftesbury Avenue in Central London. They had the lovely Japanese Shinto Rasp for sale, the ideal tool for reducing the size of the end of the rib.
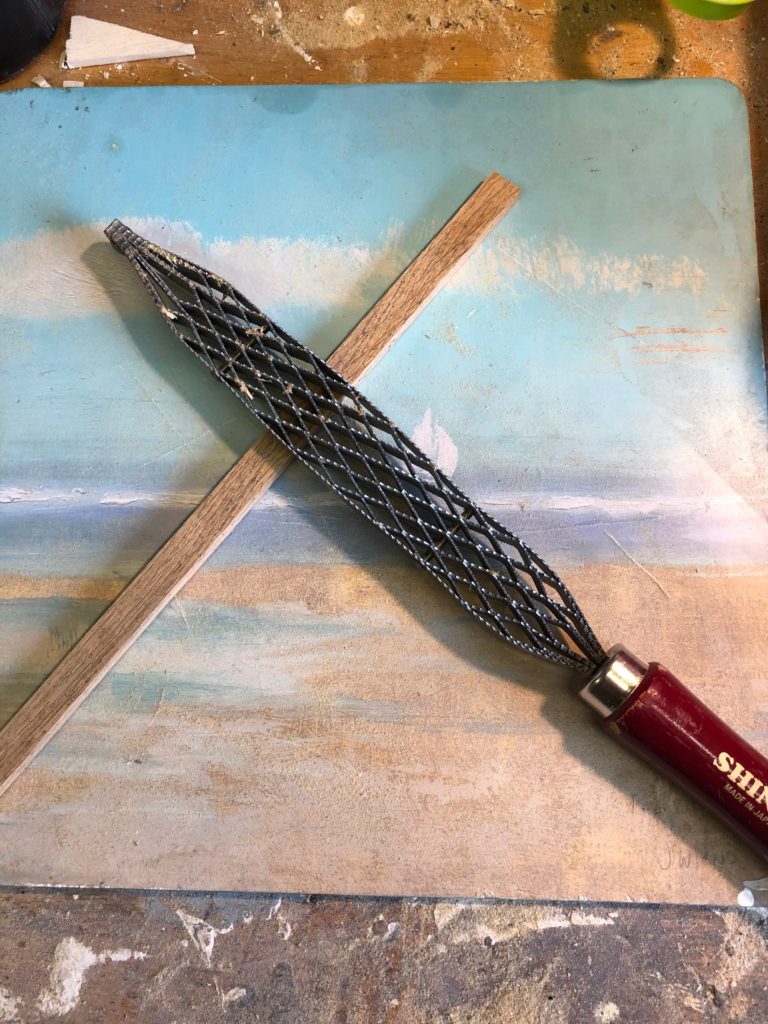
The end of the rib just need to be reduced by a couple of mm on the front face and sides for about half an inch, this allows the rib to slide into the slot in keel.
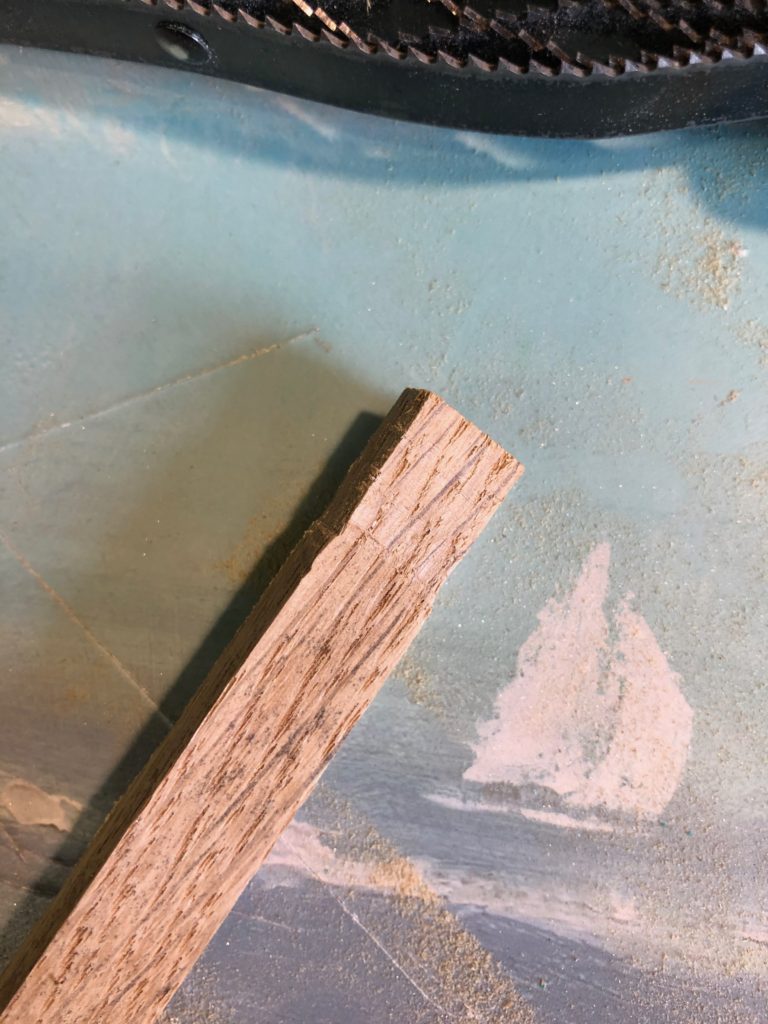
At this point it is essential to sand a small radius on the sides of what will be the inner surface of the rib. If I left this square there’s a chance the rib will split along this hard edge when it goes into compression
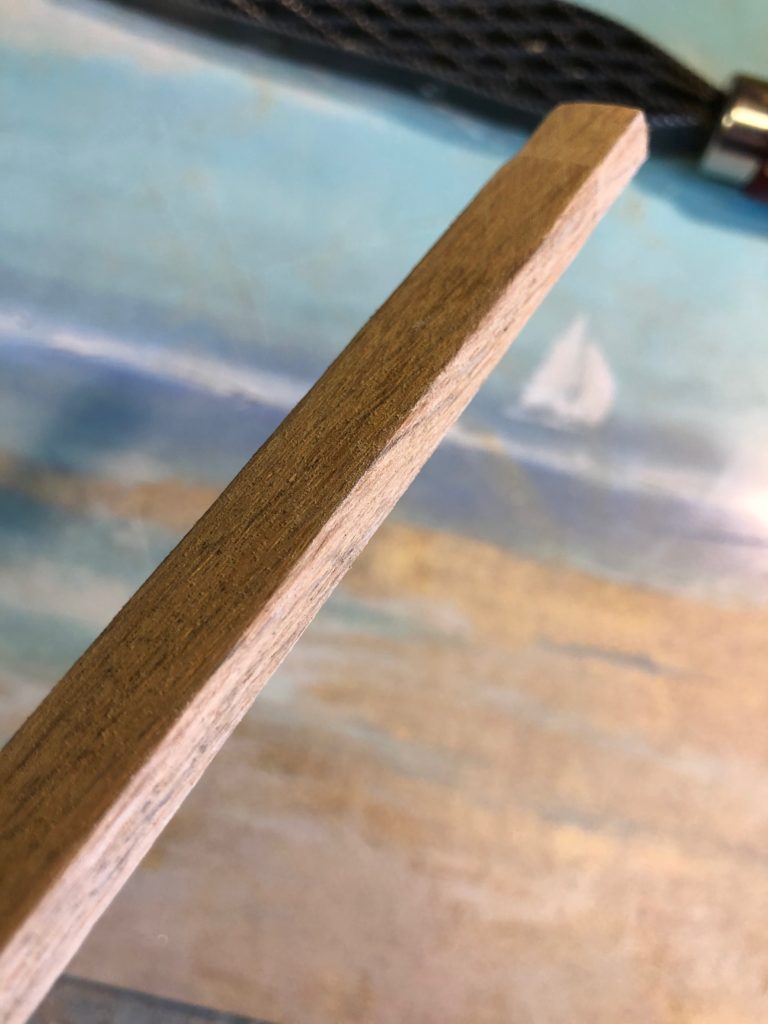
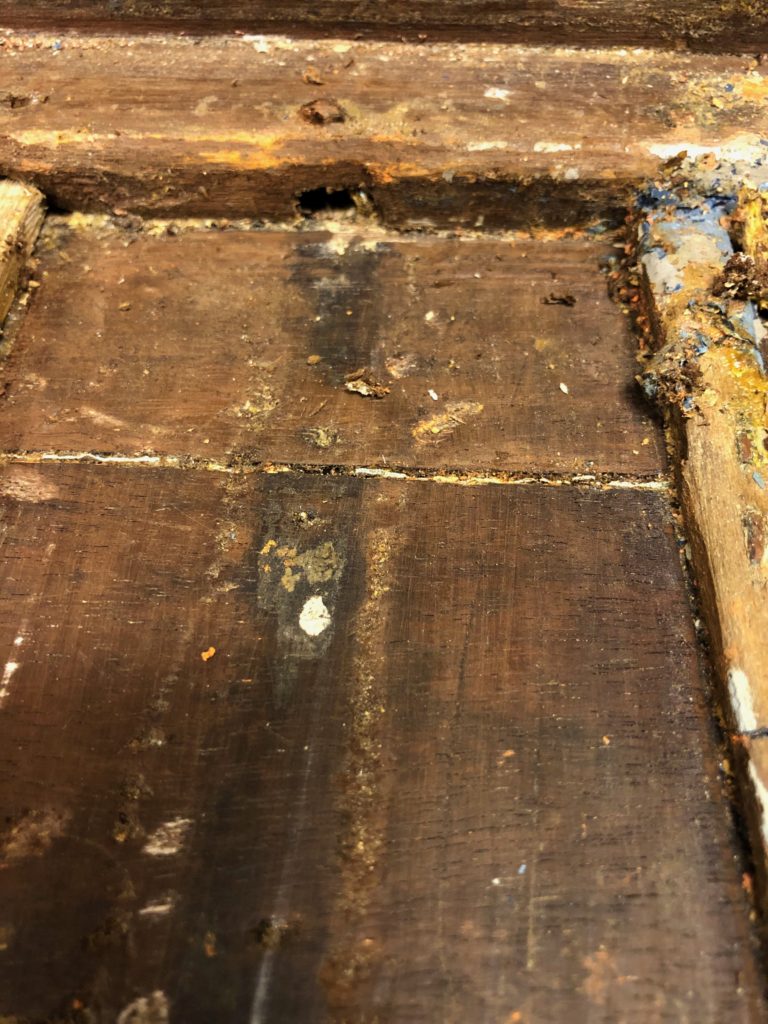
You can see the slot in the keel that will take the trimmed end of the new rib
Now it is time to steam the rib, I’ve found that 20 minutes is ideal
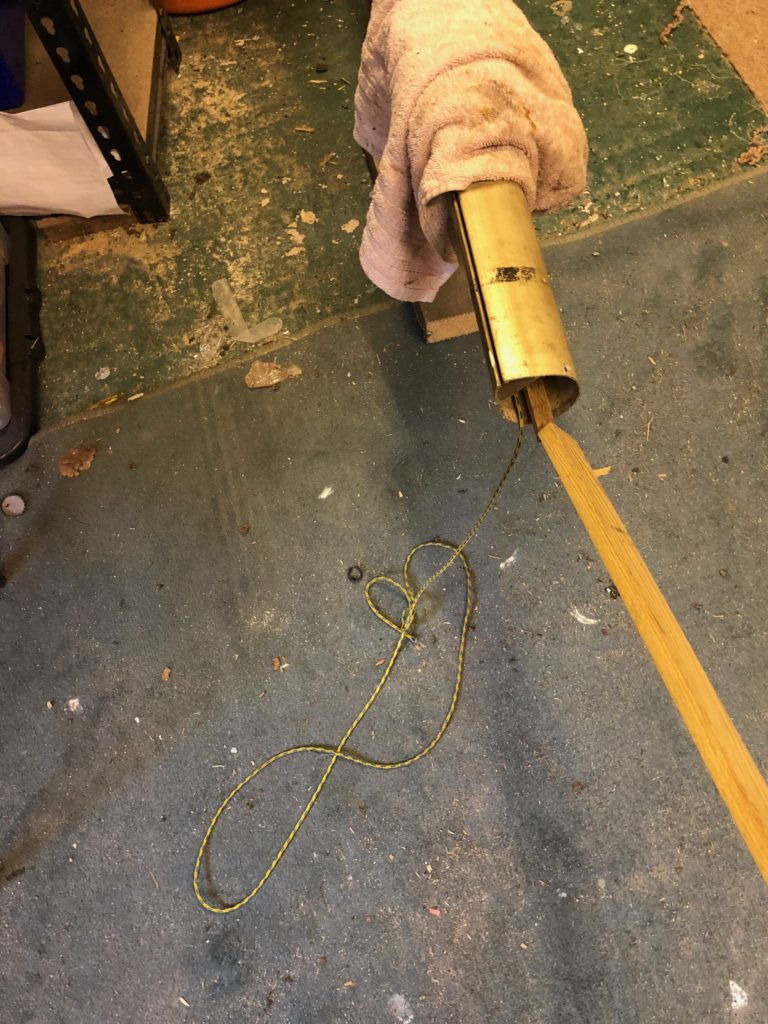
This video (made a few years ago) shows the steamer in action
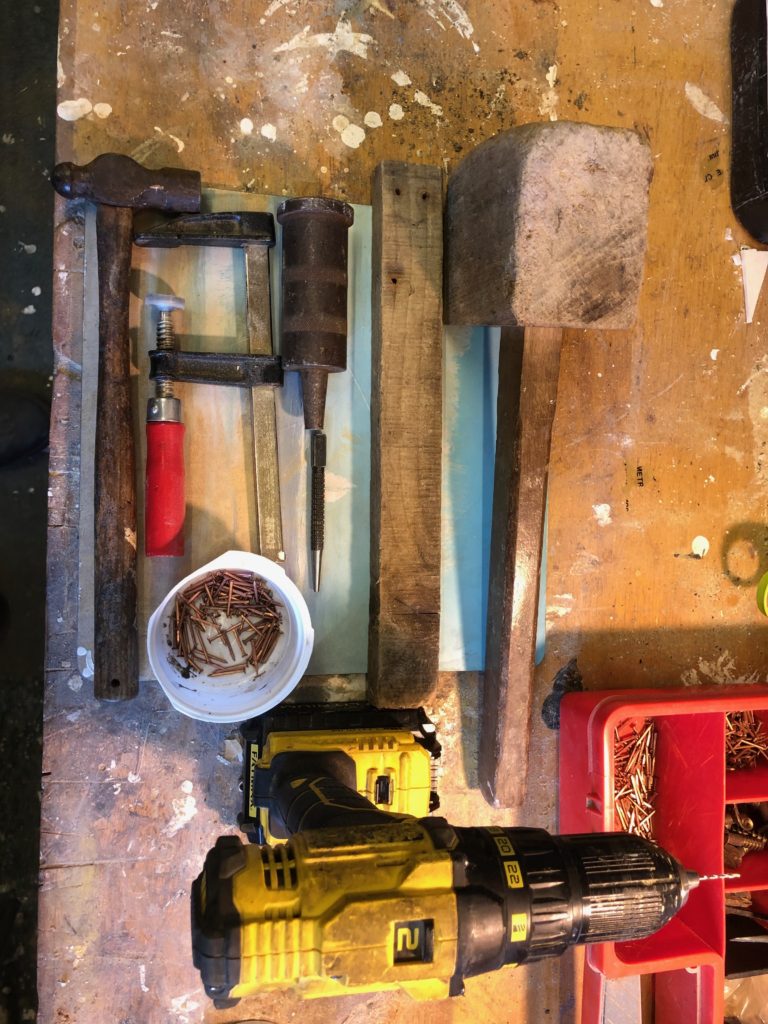
While the rib is steaming it is time to have the relevant tools collected in one place.
- Small hammer
- Enough 3/4″ x 16g copper nails
- Dolly
- Mallet
- G clamp
- 2″ wide piece of timber (used as a spacer)
- Hollow punch
- Drill with 1.5mm bit to pre-drill holes for the nails
Once the rib has steamed it can be slid into place
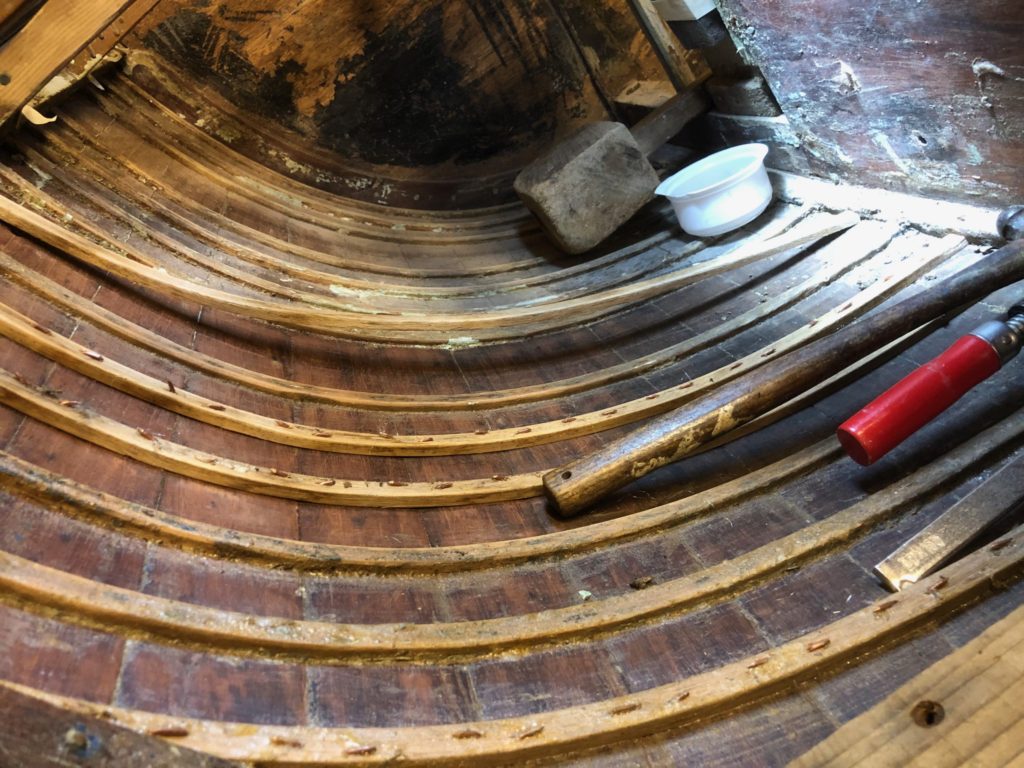
The G clamp holds the rib in place while the mallet is used to give a couple of bangs to get the trimmed end of the rib into the keel rebate.
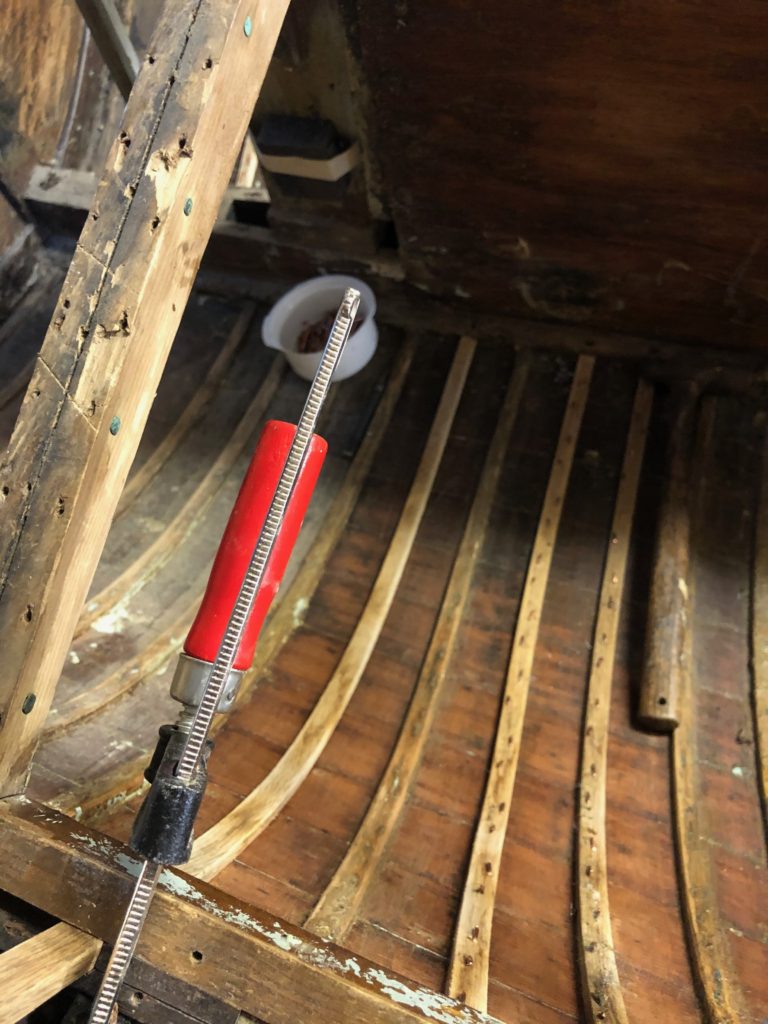
The G clamp holds the rib in place, taking up the required shape. Using the old nail holes the drill is used from the outside to provide a pilot hole for the nail. If the oak was not predrilled there is a chance the nail will split the rib.
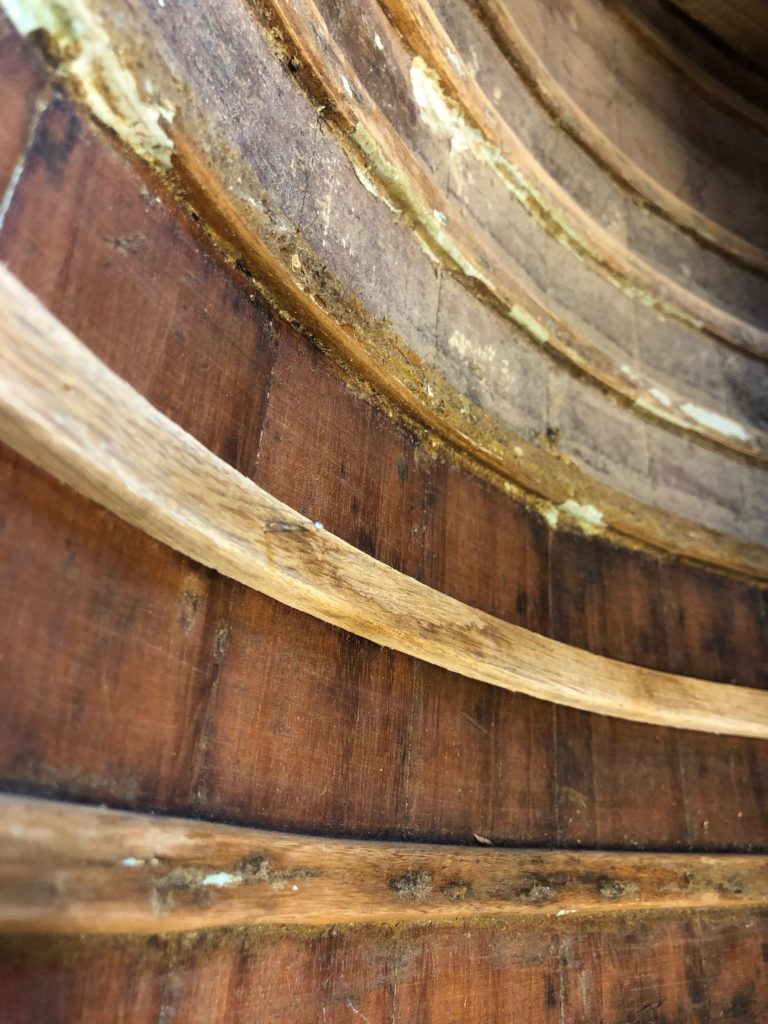
Next the dolly is deployed before the nail is knocked through
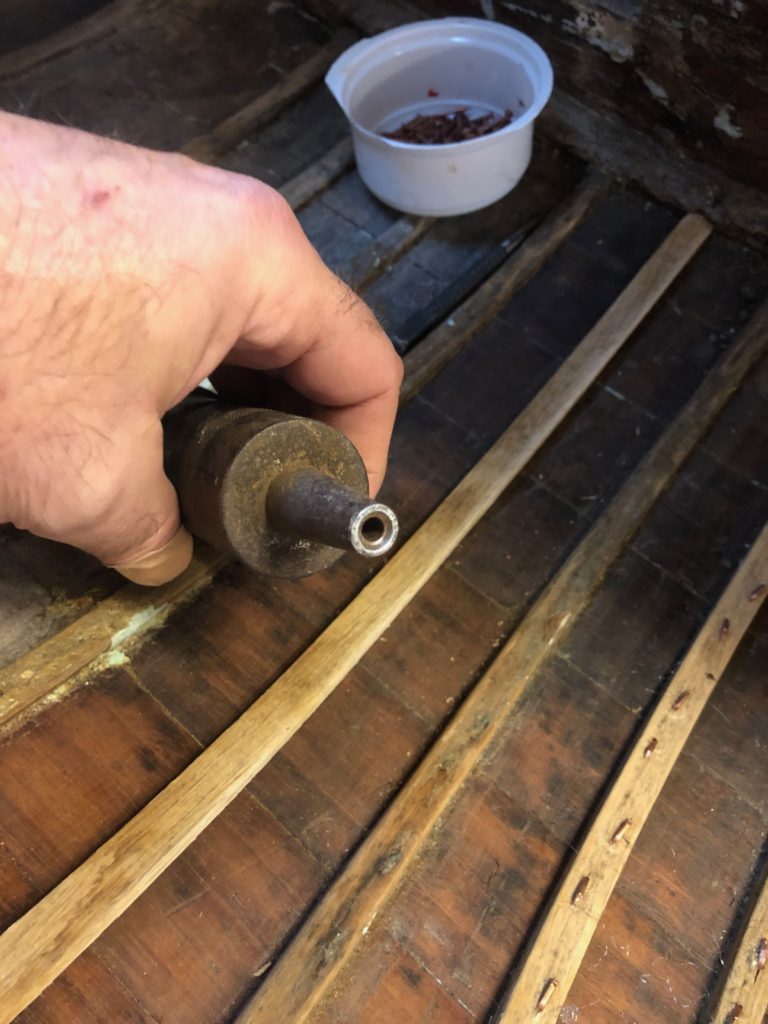
Holding the dolly over the drilled hole I can now hammer in the copper nail through the hull and rib
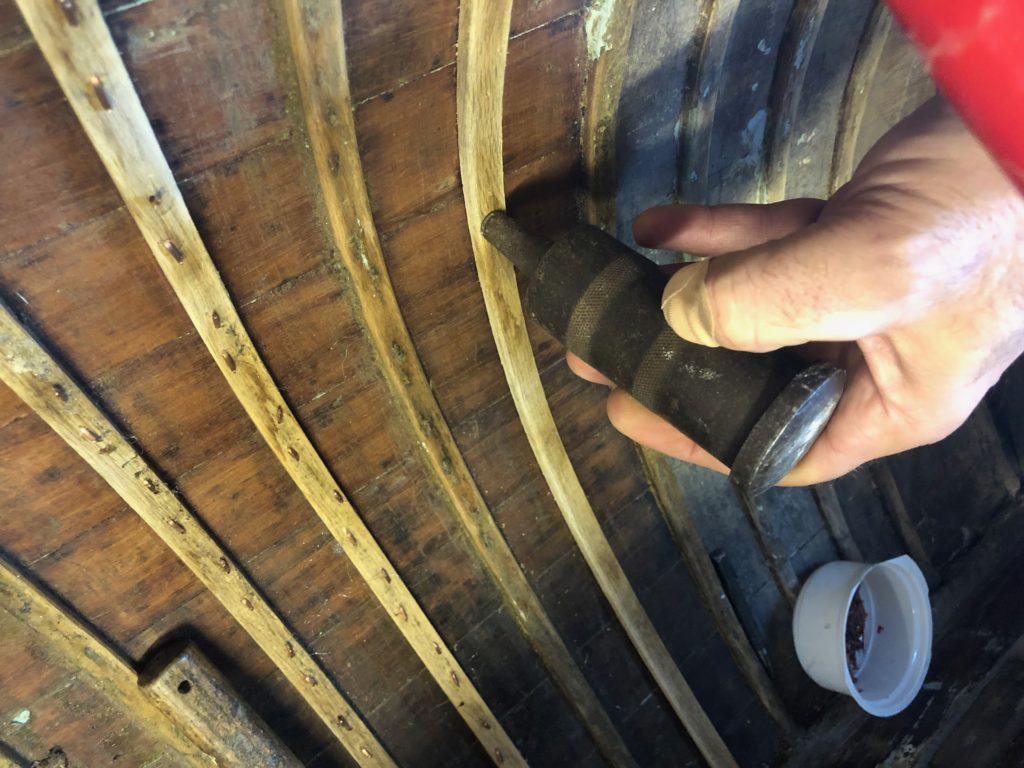
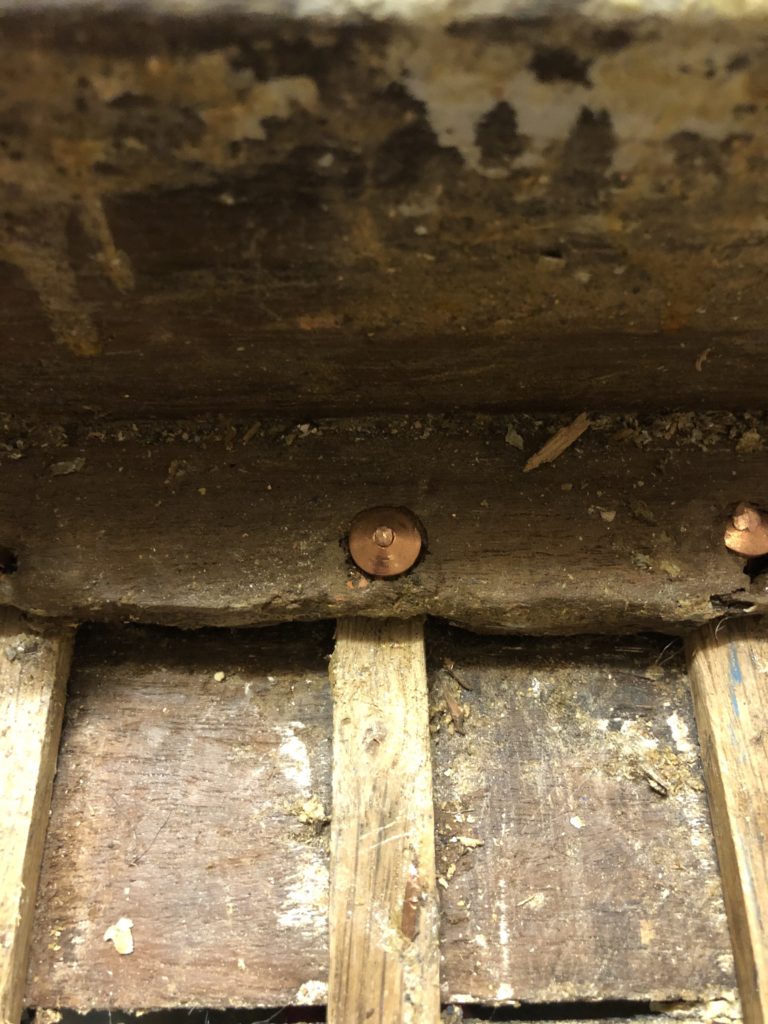
With the dolly removed the nail end can be seen.
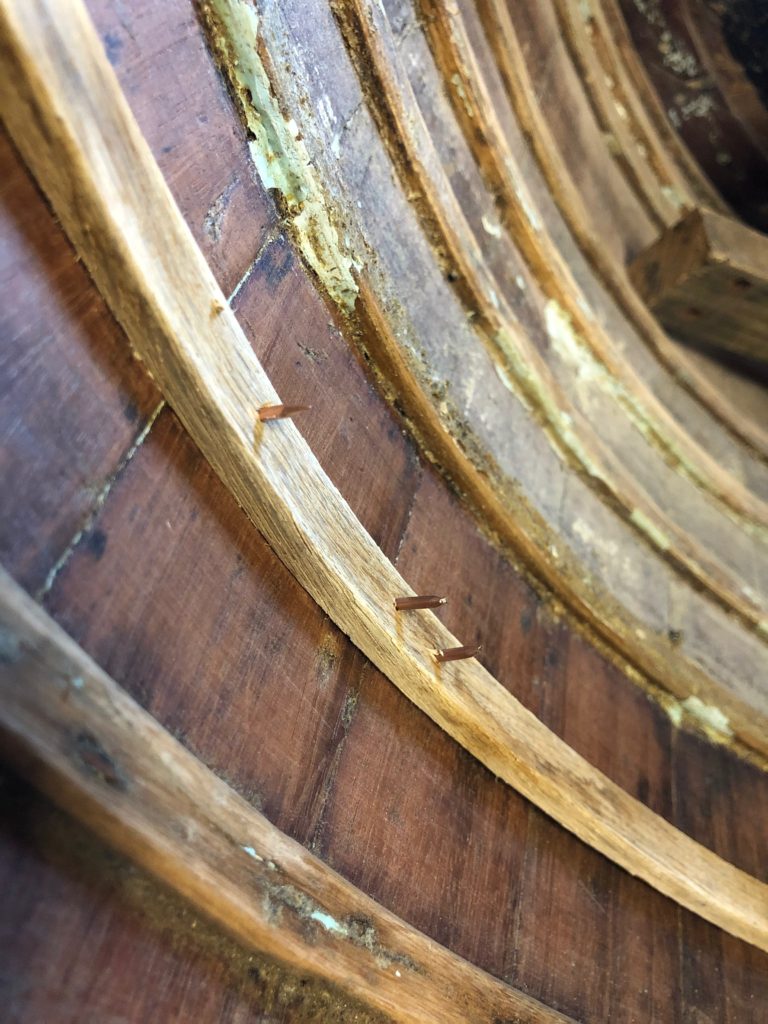
It is now time to bend over the nail using a hollow ended punch
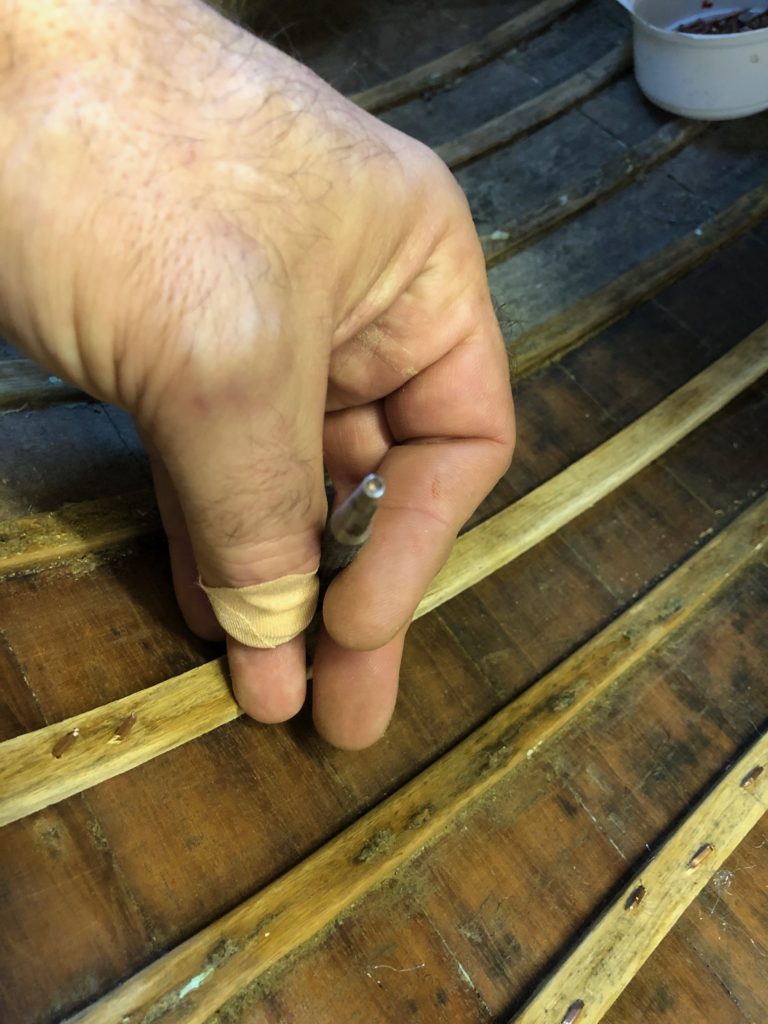
Of course care is needed, if you slip then you impale your finger on a nail, only done this about 12 times, I’ve found I can put the punch onto the end of the nail and push away, bending the nail flat against the rib.
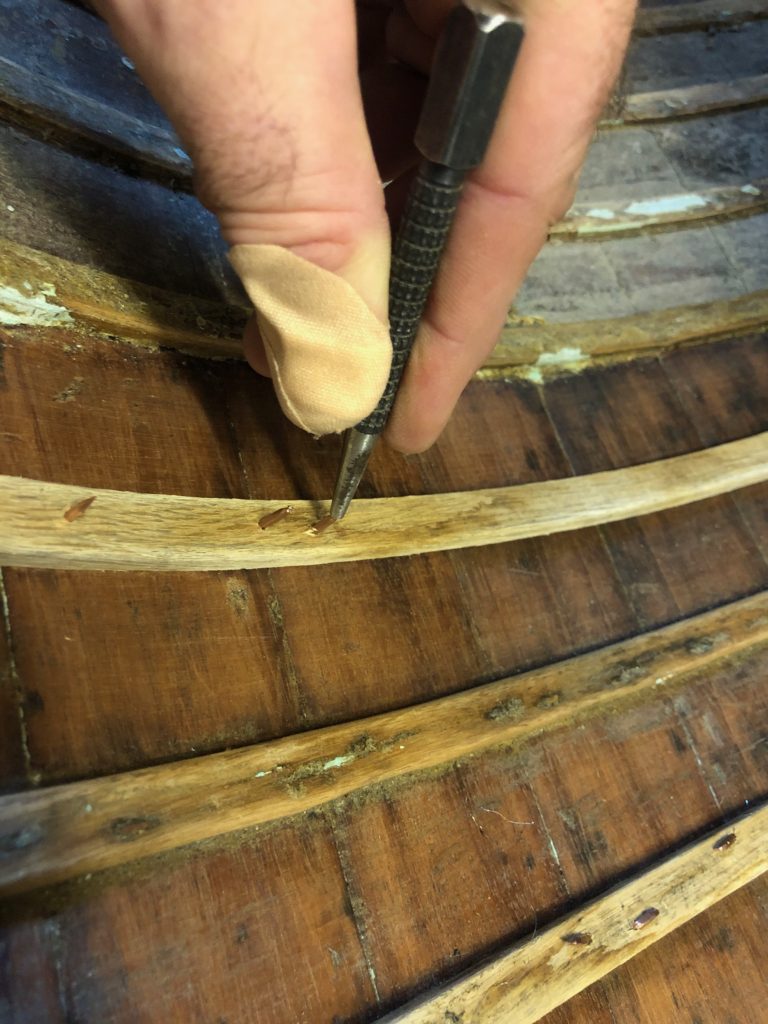
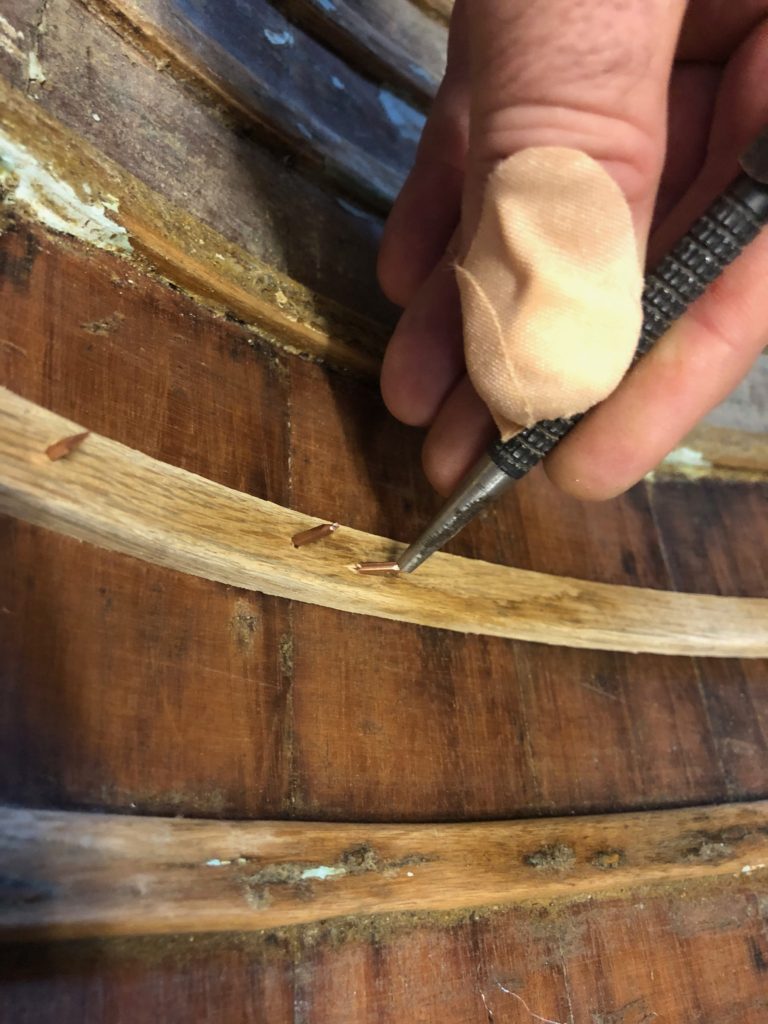
Each pair of nails, going through adjacent planks are bent away from each other
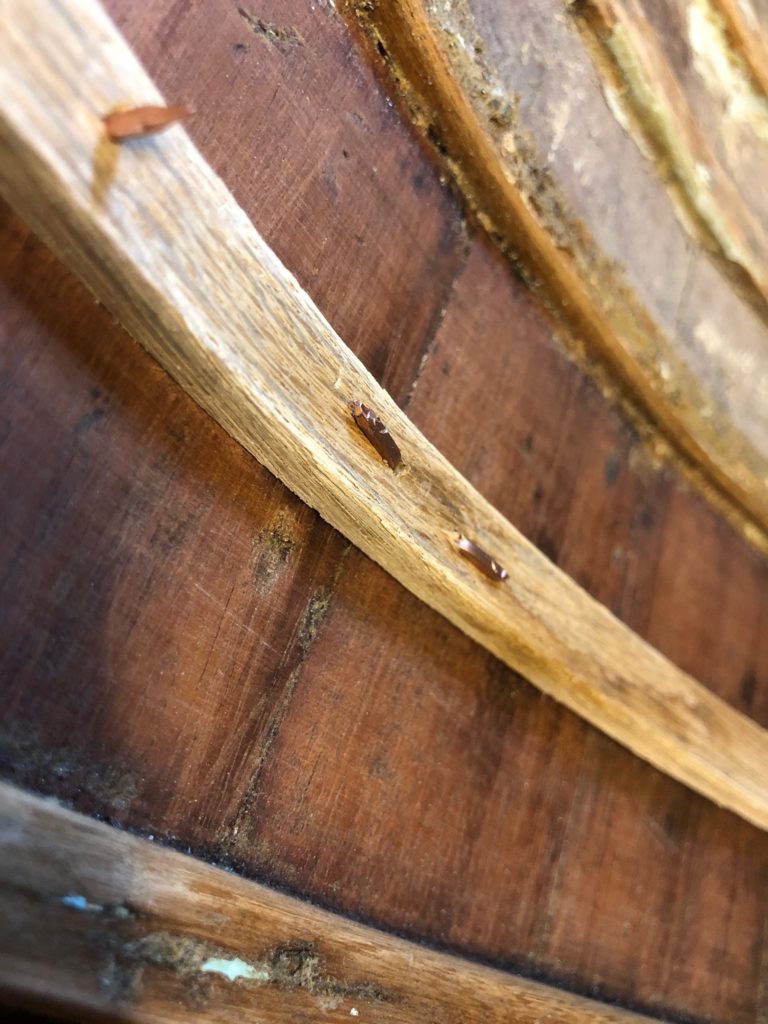
Once they are bent they are dressed later with a hammer and punch to make sure so sharp points are protruding
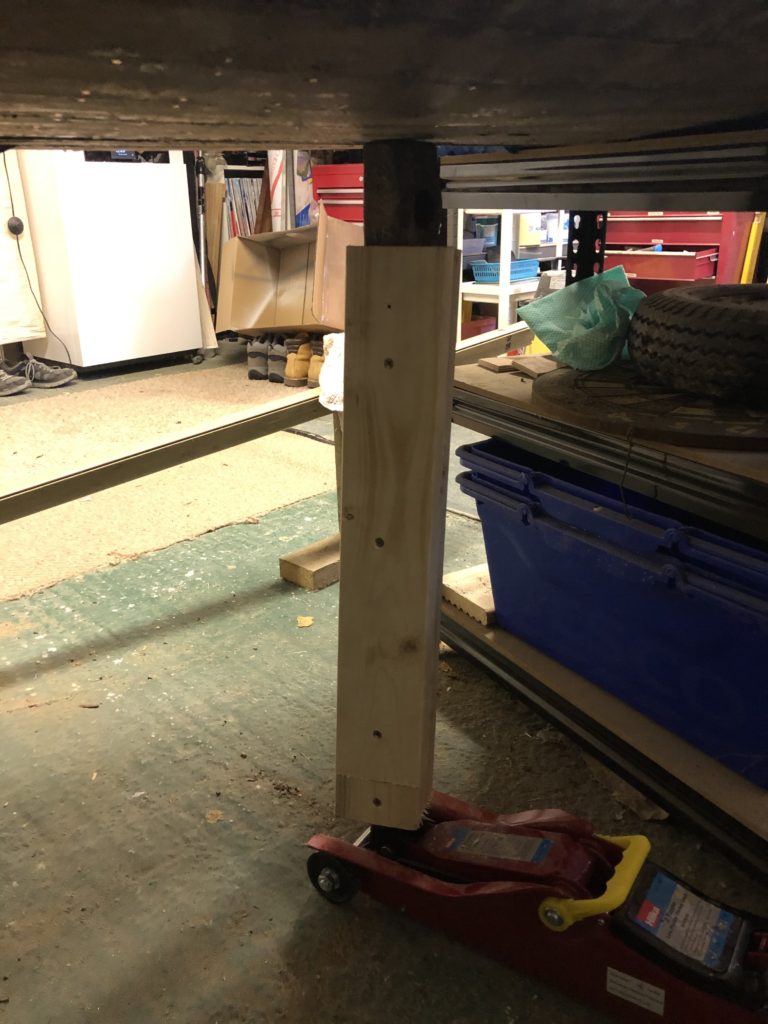
The last nail to go in is the one through the keel. This is the only nail in a rib to be fixed in with a rove. To stop the nail from being knocked back through the hull I use the head of an old sledge hammer let into a piece of timber and a trolley jack to position this arrangement under the hull. This allows me to slide the rove over the nail, trim the nail down and hammer the rove.
This one needs a little more attention but you can see the riveting is taking place

Leave a Reply